World's Spookiest Restaurant T'Spookhuys
-
The World's Spookiest Restaurant T'Spookhuys Known also as the “House of
1,000 Ghosts”, the T’Spookhuys Restaurant was designed to scare the hell
out of it...
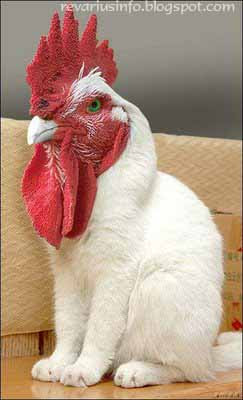
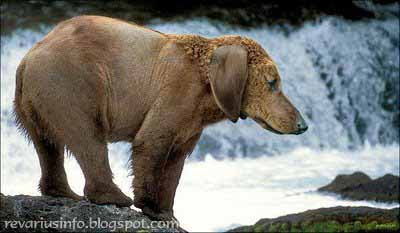
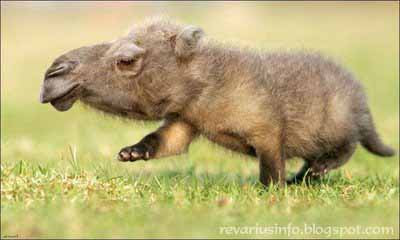
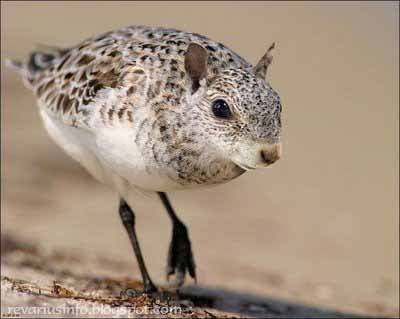
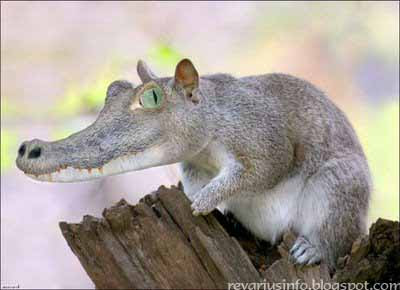
It was not a big secret that photoshop can make a breakthrough, by making a manipulation, make a vector and vexel image, there's so many thing that we can do with it, and one of the best creation that made by photoshop are these picture, you have to see this a new animal species which was made by a smooth photoshopping technique, yes we can make a new animal species by blend two animal into one body and make a new species.. hehehe OK let see the greatest manipulation of photoshop here.
For example is this animal.. it was a blending from a chicken and a cat.. we could call it chicat (a cat with chicken head) hehehe
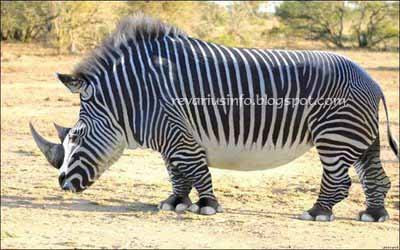
Or like this a zebrino a blending from a rhinoceros and zebra, the result of a new species derived from that blending are so cool.. a rhinoceros with zebra skin.
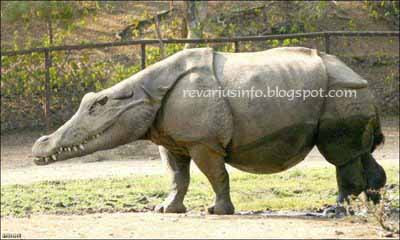
And this is Crocorhino a rhinoceros which have a crocodille head, how's this cute new species?? great photoshop technique make it look like a real living animal.
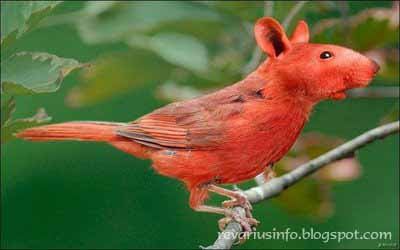
Birdouse a combination of a mouse and a bird, the result are a species like this, a bird with mouse head
Or maybe Like this a Rhinochicken a rhinoceros with a chicken head..
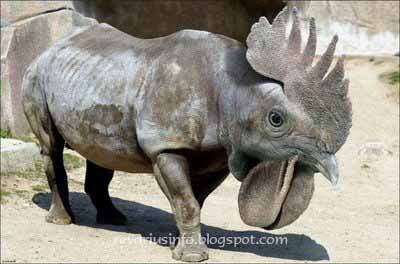
And many more new animal species from a genetics photoshop work, Name the new animal yourself..
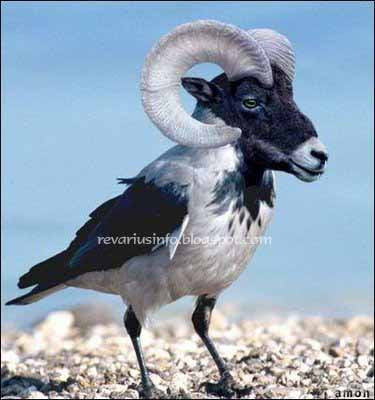
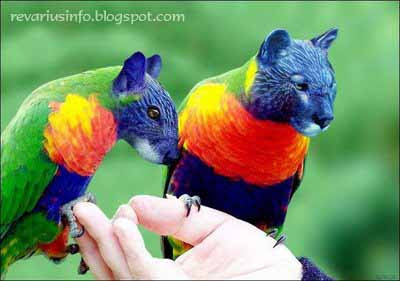
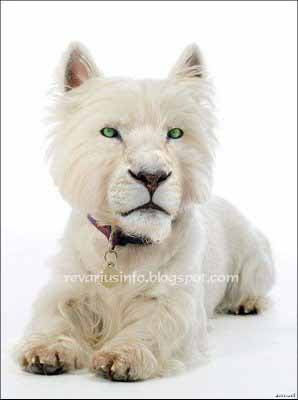
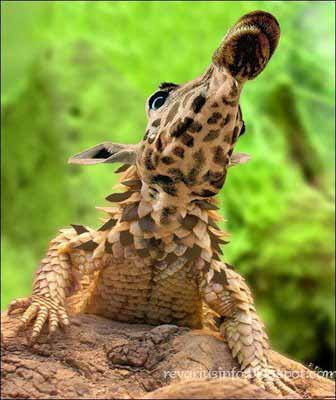
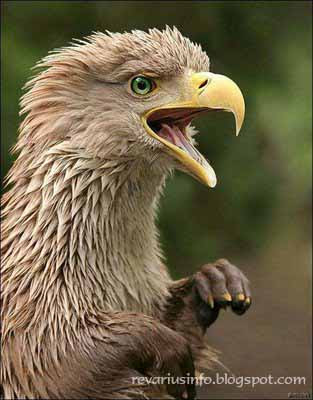
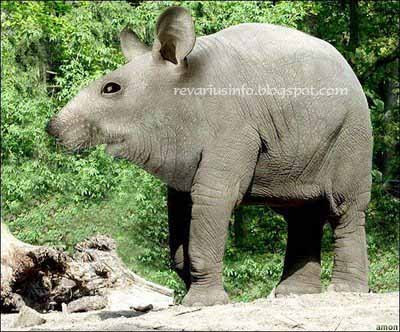
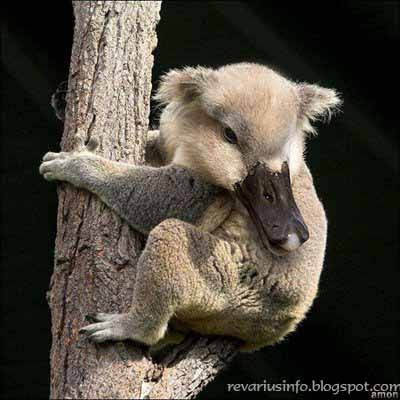
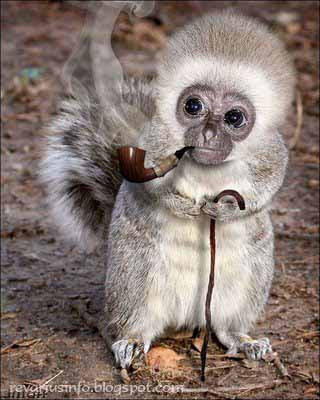
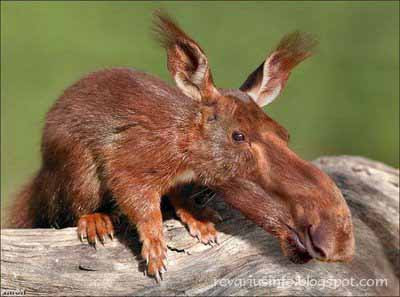
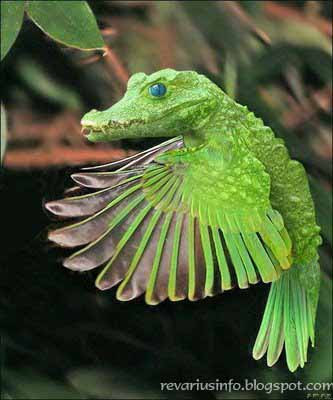
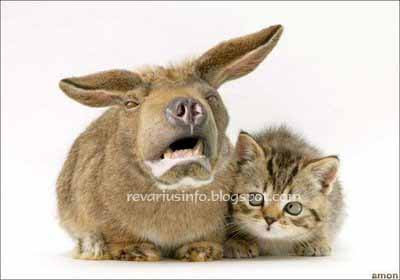
OK that's all.. Thanks for watching and read the new animal species by photoshopping Wait for my next post about the amazing of Photoshop
Labels: Photo Manipulation, Photoshop Artwork
There are so many things that we can do if we have a creativity, especially on photoshop, like in this opportunity, i'd like to share some great simple trick to do with photoshop, those are make a simple glory flame effect, this trick only use a lens flare effect added with distortion, the key of this trick are so simple, that was duplication and transforming. OK now shall we start it to learn how to make a simple glory flames effect on Photoshop??
First of all Open a new document on your photoshop with 500 x 500 size and make sure you give it a black background by pressing alt + backspace. and don't forget to make a duplicate layer by pressing ctrl + j
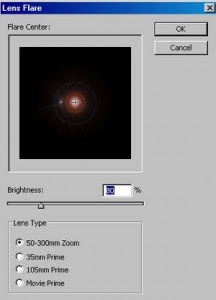
Now go to the filter - Render - Lens Flare, after you do the actions now you have to transform the lens flare as flat as possible.. maybe like this is OK.
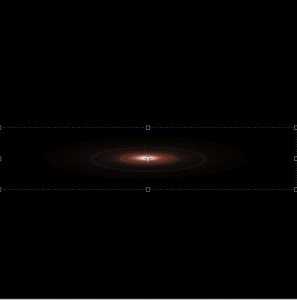
After transform, now duplicate the layer, and transform again now you should transform it 90 degree to give the result like this, oh yeah don't forget to change the blending modes into lighten..
Repeat that, duplicate layer, and transforming till you have a good sign. maybe like this..
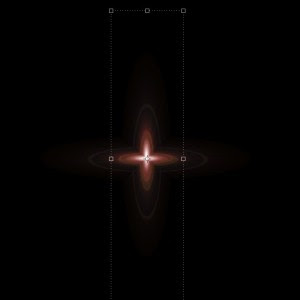
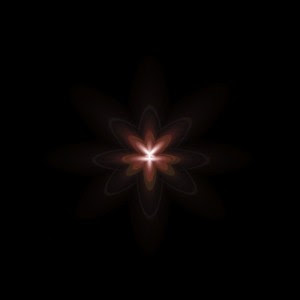
After that now press Ctrl+Shift+Alt+E to merge all the visible layer. and the next thing we're gonna do is go to the filter > Distort > Wave. and just use randomize until you get the best result.
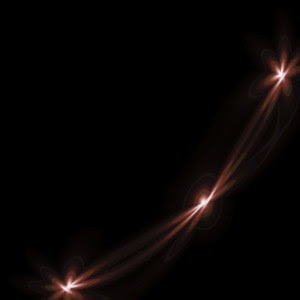
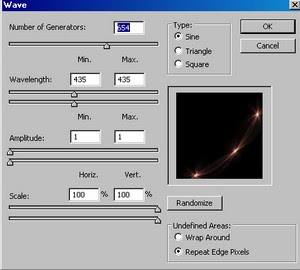
After that do a duplicate again and transform again until you got the best result like this and don't forget to change the blending mode into lighten
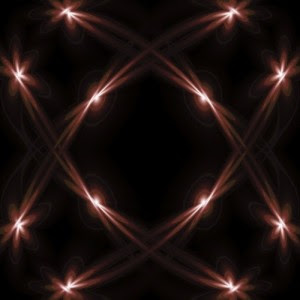
Now after you got that result, you can play with your own by using multiple choice of distort filter.. just do the duplicate and transform until you get the best result. and the last thing is only adding some color..
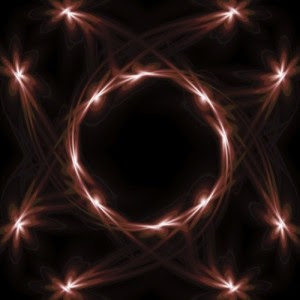
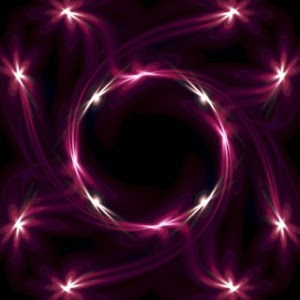
After several research of distort effect i got this result for implementing this glory flame effect..
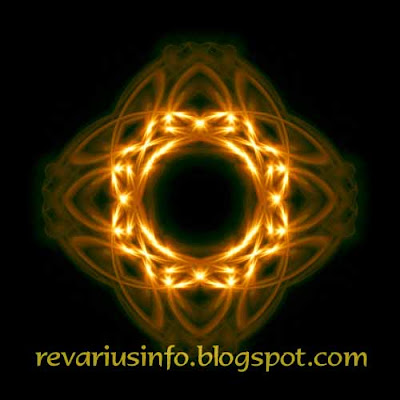
Good Luck. Hope you'll enjoy this.
Labels: Photoshop Tutorial
Have you ever try to combine a text into a complicated background using a photoshop?? if you don't know how to do that so in this photoshop tutorial i'll tell you how to do that, how to make a glow techno effect on a complicated background using a simple technique.
Step 1
Make a new file on your photoshop.. with a 500 x 500 size. and then go to the Filter - Render - Clouds
Steps 2
Give a mosaic effect on the picture by choosing filter - pixelate - mosiac and use these setting.. Cell Size = 8
Steps 3
Now give a little radial blur effect to that picture by going to filter - blur - radial blur and set the property like this Amount = 20 Blur Method = Zoom and good quality
Steps 4
Give an emboss effect by going to filter - style - emboss and set the property into angle = 135 height = 7 and amount = 170%
steps 5
Give a accented edges effect by going to Filter - Brush Stroke - Accented Edges and use this setting Edge Width = 2 Edge Brightness = 45 and Smoothness = 5
steps 6
then after that go to filter - stylize - find edges and choose images - adjustment - invert or just press Ctrl +I and the result will be like this
Steps 7
Write your text by using horizontal type tool.. you can choose your font as you wish
steps 8
Give a blending options into your text layer such as drop shadow (let it as default set) and Outerglow (let it as default set), and then bevel and emboss (choose outer bevel) and choose the stroke in black color and center type with 3px bold.. or you can set it with what you want..
steps 9
After you write a text on that background, now the last thing is only change it's color.. firstly you have to merge the layers by pressing Ctrl + shift + E.. after that go to the image - adjustment - hue saturation.. or just press ctrl + u... you can set it freely... but don't forget to tick the colorize options at the right bottom.. and change the hue to find your wanted color..
and this is the final result
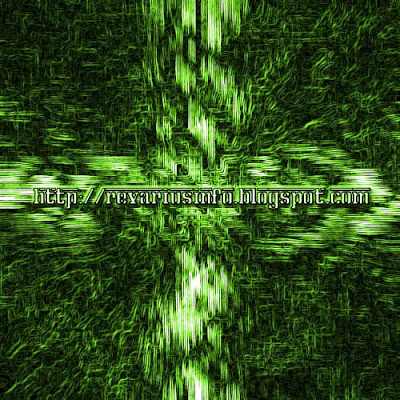
Hope this little and simple tutorial are useful for you.. thanks for reading this tutorial
Labels: Photoshop Tutorial
You can make an artistic text in photoshop by using some tricks, like this, we want to make a sun burn text by only using simple tricks, let's starting with the first step, Open a new document, set the size as 500 x 100 and then Choose the Horizontal Type Tool, and choose your favourite font, and set the size proportionally. and the next step is..
step no 2.
you have to rasterize the text layer above the background layer, you can rasterize it by going to Layer -> Rasterize -> Layer, and then duplicate the new layer that you rasterized twice, and named it blur 1 and blur 2, see the explanation below
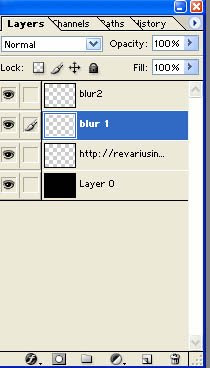
Step no 3.
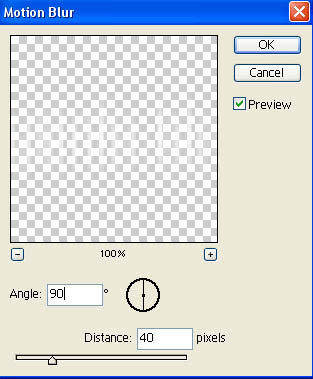
Go to the blur 2 layer, and add the motion blur effect by going to Filter-Blur-Motion blur. you can use this setting, angle = 90, distance 40.. or you can see the illustration below.
Step no 4.
Go to blur 1 layer, and replay the last step, but change the angle into 0. after doing this so this is the result that you got.

Step no 5.
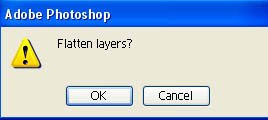
Choose Image-Mode-Grayscale, and after you choose that, it will come this alert, and you should press the flatten button.

Step no 6.
Go to the image-mode-index color
Step no 7.
To give a sun burst effect on your text you can choose the color table by going to the image-mode-color table, and in the table section choose black body and choose OK.

And this is the result after you do all the step above.. how's that?? cool isn't it??

Labels: Photoshop Tutorial
With the power of photoshop and added with your creativity and soul of art, you can make a common picture into an amazing picture, and also you can make some fun by manipulating a picture, like this picture below, the creator are really great, he can make a smooth manipulation, on the train picture, it's really cool, and a busway picture, it's amazing.. he can make a realistic manipulation there, Ok let's see the manipulation

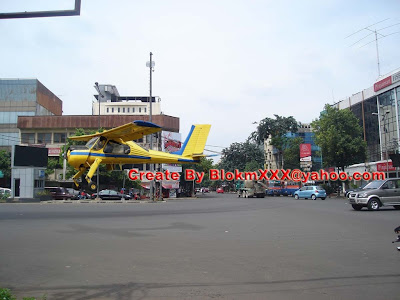
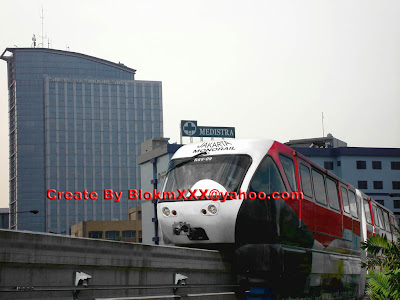

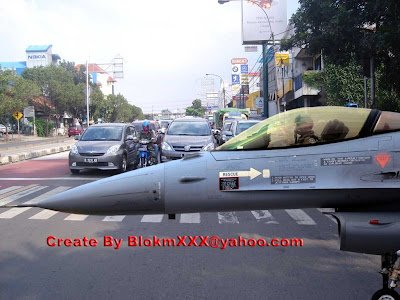
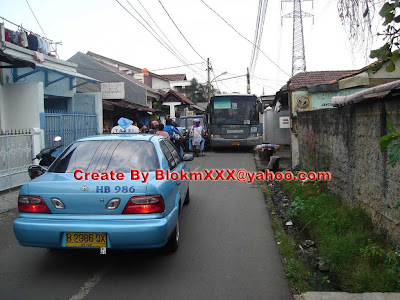
Cool isn't it?? very clean.. and smooth, i think the only weird thing is on the jet picture... check it and i think you can find out what is the weird thing there... Thanks.. i hope you enjoy this post
Labels: Photo Manipulation
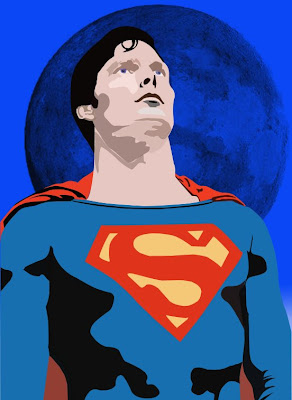
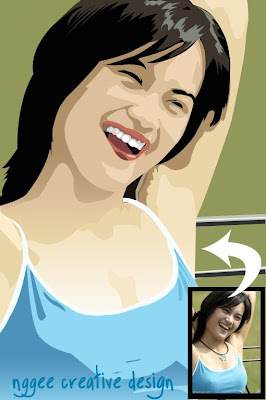
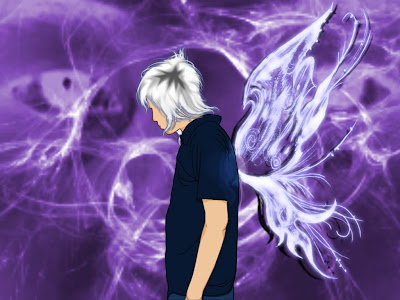
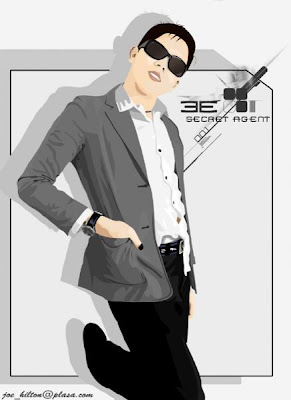
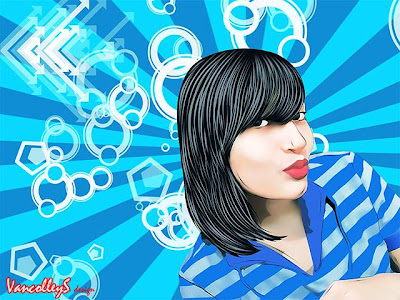
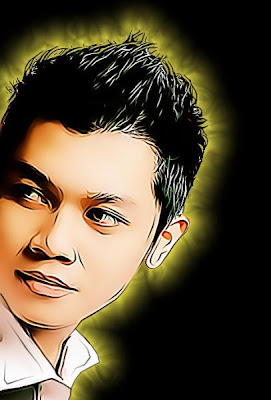
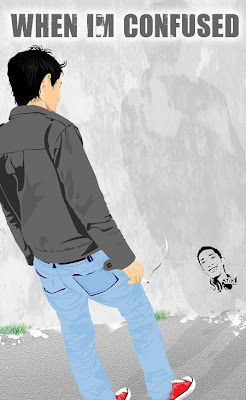
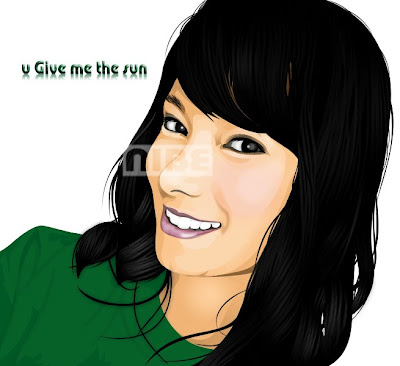
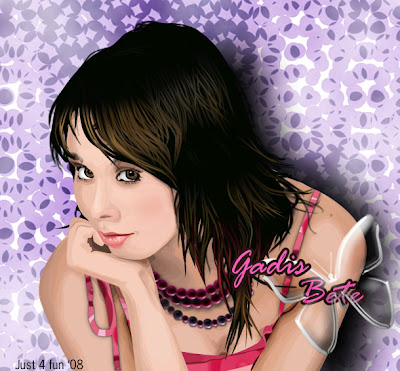
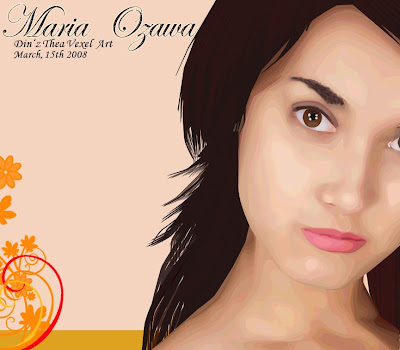
I got this vector art from various source.. but actually it's from Photoshop21.com it's really nice vector art that are finished by using photoshop.. Come and see the rest of this Vector Art




Labels: Photoshop Artwork
;;
Subscribe to:
Posts (Atom)


